How to Blur Videos on CapCut? (Android & Iphone) 2024
Blurring a particular portion of the video or part of an image is a common practice by users while using editing apps. Of course, Capcut offers the Blur Option, but its usage becomes complex when opted with additional editing features.
Beyond integrational issues of Blur Effect with other Editing Attributes, professional utilization of diverse options of Blue Effects among videos and images is another perplexing for Capcut Users since the app packs a long list of Blur Functionalities.
Hence, the core purpose of this article is to explore the extensive range of Blur Options available in the Capcut App alongside their proper usage. In addition, you can download the Latest APK Version of Capcut from our website for free.
The reason for providing the Capcut MOD Downloading Link in this informational writing is that a few Blur Features of this app are premium, and users must pay charges to unlock them. Nonetheless, this Custom-built edition unfreezes them all.
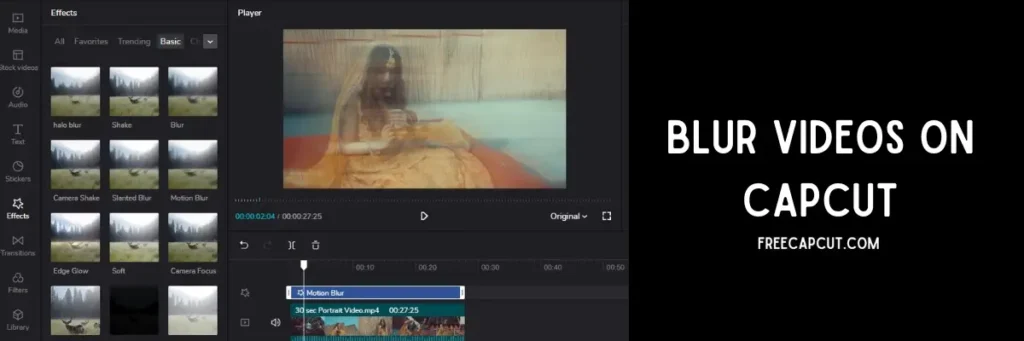
Explaining the Blur Feature in the Capcut App
Although hundreds of editing apps are fighting in the editing world, the CapCut secures top position due to its easy-to-use character. You might watch videos with different blur effects on social media platforms and think if you want to do the same.
Before elaborating on the CapCut usage in making blurred videos, it’s pertinent to cite here that before CapCut, people had to suffer a lot to edit their videos. They paid money and had to wait long for their desired video. Videos with blur effects were supposed to be professional-level editing.
Today, social media users tend to make their videos blur through CapCut. The app made itself so simple that a learner can apply filters and effects. He also can enforce blur changes and get a striking video that may influence his fans on Facebook and Instagram.
If you go into the past, you’d see that video editing was an artistic work that required hard work, training, experience, time, and money. With the wave of digitalization, it has become painless and supplies you with the desired things in no time. Of course, the credit goes to software engineers and app developers.
How To Blur Background In A Video?
It’s like a cup of tea to obscure an unwanted background in your video. Open the New Project and input your video by selecting from the storage. Click on add tap on the clip in the timeline and choose copy. A duplicate will appear at the back. Now, choose overlay and bring the copy down one layer.
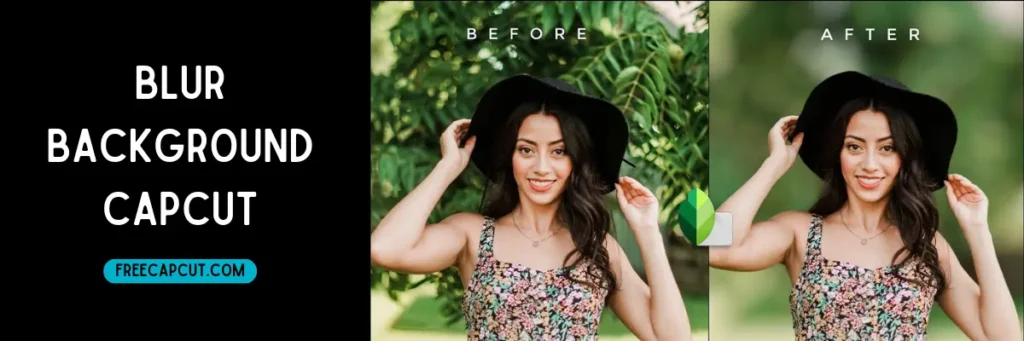
Drag the copy under the original clip. Select the overlay and choose the Cutout tool. Select Remove Background, go back to the main menu, and choose Effects. Enter into video effects, then Lens Category, and select Blur. Stretch the blur effect across the duration of the blur background video.
After applying the above-mentioned methods, you’ll reach the final prepared video with a blurred background. You can choose the intensity of the blur effect by scrolling the horizontal bar. Set your desired ratio and peruse the video for the last time. You can share and export your video at any place.
Blurring A Person Standing Next To You In A Video
The entire procedure is the same as cited above. Start a new project, and select the video by adding the video. First, apply the Blur effects that you can find under the button Effects. Go to the Blur, available among hundreds of such video effects. Apply it thoroughly by rolling the purple-colored bar.
If you want to adjust the strength of the blur effects, spool it to 100 for maximum output. Now, the whole video is blurred, but you want to smudge a specific face in the video. For that purpose, select the main track video and select copy from the bottom line menu. A second copy will appear on the bar.

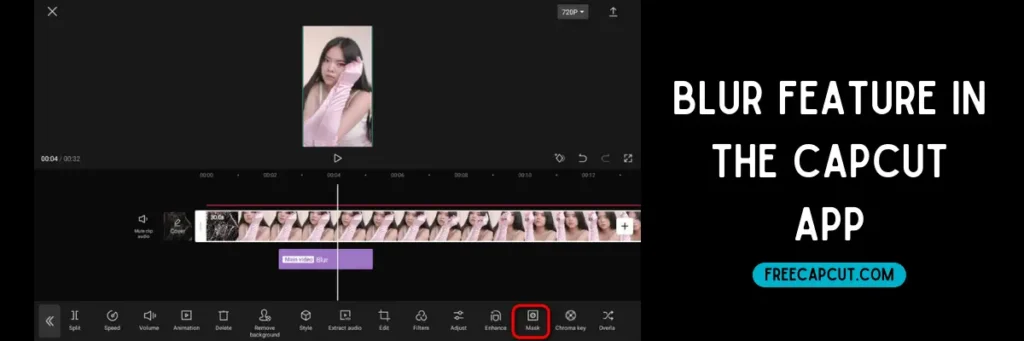
Then, go to the start line and select the first video. Tapping on the Overlay will put the copied video over the vital clip. To hide a specific part from your video, use the Mask button. You can choose the shape of the blur effects appearing on the screen. You can select any outline from the available figures like Split, Filmstrip, Circle, Rectangular, Heart, etc.
You can change the blur frame height, breadth, and size with the help of arrow keys. Adjust the frame size and affix it to the required part or face in the video. If that object is static, it’s the end of the lesson, but if the body is dynamic, you need to move the Mask.
Click on the tick button and observe that you can see a Diamond shape with a plus sign near the Play button called Key Frame. Tap on that, select the Mask, and move the timing further. You’ll see that the Unwanted person is again visible on the screen as he shifts the position. Now, use the manual process to hide the object in full video. While you keep moving the timing, adjust the blur frame over the point. Preview the video once and export.
How to Blur Floor In Your Video?
There is no difference between blurring a background and a floor. If you want to do so, you will need the same typical process with a combination of effects and manual alteration to gain the required results. Here is a general method you can adopt:
Exploring Blur Features in CapCut – Unveiling Amazing Effects
Blurring in CapCut is like an ocean that looks simple and calm from a distance, but when you explore it, you become stunned by its diversity and further qualities. CapCut contains hundreds of such effects that help you blur your videos in various ways. Dominant, frequent, and astonishing Blur Effects are as under:
Opening & Closing: This effect brandishes blur effects off and on. The blur appears and then disappears from your video after applying it.
Halo: Your video will have a minor shine after employing this effect. You can use this effect any time from the settings.
Diamond Zoom: A glitter emerges out of your video from your eyes and overall screen after using this blur effect.
Blurring Focus: When you apply Blurring Focus in a clip, a minor blur appears in the video while focusing on the selected area.
Pixel Blur: As shown by its name, Pixel Blur distorts the chosen portion of your video. It looks like a pixel error has interrupted the screen.
Rotary Focus: The Rotary Focus effect is available in the Lens portion. This effect smudges the four corners of a video in a circular shape. The central circular area is visible, while the four corners are blurred.
Surface Blur: A sharp, oily, and wavy look covers the screen in the Surface Blur effect. You can choose the specific segment of a video to blur or the whole screen.
Chrome Blur: This effect blurs your video in a neon light color to give a touch of fantasy.
Gaussian Blur: This blur effect can create a subtle and dreamy effect and helps smoothen and blur the selected part of your video.
Zoom Blur: Zoom Blur is amazing for inserting a dramatic weight to a specific portion. It creates a zoom-in and zoom-out with a blur track.
Zoom Fast Blur: Like the Zoom Blur, this effect provides a zoom-out and zoom-in blur effect but with a faster blur path.
Tilt-Shift Blur: This effect is obligatory to create a miniature blur effect by blurring the upper and lower parts of the frame and keeping the central part sharp.
Motion Blur: Motion Blur effect helps to enhance the speed and motion of an object. It adds blurring in the direction of movement of that scene or body.
Retro: A bluish blur effect plasters the overall screen in the Retro. Moreover, it also has no focus on the person. Date, Year, and Day become visible on the left corner in a vertical position.
Night Club: This effect has added features like Frash Vibration, Shake, Pulse, etc. Those features represent a white & black look with blurry effects, whereas the white color glows more prominent and horizontal blur lining imposed on the person in the video.
Mosaic: In the Mosaic effect, small black and white square boxes cover the screen and comically hide the background video. This effect supports hiding a sensitive, confidential or prohibited part.
Frequently Asked Questions (Capcut APK)
Conclusion
In short, the Capcut App packs a diverse range of Blur Attributes that add aesthetical and stunning looks to your creations. Indeed, this blog comprehensively breaks down the Overall Blur Functionalities of this App alongside sharing their professional integration into your videos. Meanwhile, the selection of effects is always in your hands, which links to the level of your creation and editing skills.
Feel free to view the Official Capcut Tutorials to enhance your Editing Ideas before bringing them into realistic forms. As a sidekick to our efforts, you can bookmark our website and enable the notification icon to receive an alert whenever we publish a new blog or article related to your favorite Capcut App.